Note that Scribl is a participant in the Amazon Associates Program, an affiliate advertising program. That means that Scribl can earn fees if you buy anything after following these links. This helps us promote all our authors' books and continue to provide free titles to our customers at our expense. If you are considering buying anything you see listed here, please consider following our link when you do.
Optional Upgrades
Check out these additional options to make your recording even better.
Following are descriptions of all the hardware we recommend for recording an audiobook at a diverse range of price points. We try to provide the lowest cost options capable of producing good output up through the top of the line that make sense to consider for narration work (not the actual top of the line that you would want if you were outfitting a professional sound studio).
These are just our opinions. Other skilled audio professionals may disagree, and that's OK. If you want to be thorough before making a decision, we recommend searching the Internet, reading or watching other reviews.
Also, for all hardware, there are occasional manufacturing duds. If you try one of these and it's just terrible, you may have received a defective unit. Return and try again. If you get 2 bad in a row, try something else. If you need help using any of these or making a decision on what to buy, as long as you intend to use it to record an audiobook to be self-published through Scribl, we'll help you out. Just go to the support link under your Account menu.
Note that Scribl is a participant in the Amazon Associates Program, an affiliate advertising program. That means that Scribl can earn fees if you buy anything after following these links. This helps us promote all our authors' books and continue to provide free titles to our customers at our expense.
Microphones
One of the key factors in a mic decision is: USB or XLR? Some of the mics listed here support both, some only USB, and some only XLR. Which should you choose? Well, of course, that depends…
USB is simpler, typically just plug-and-play to a computer. All the USB mics listed here also include a headset port, so you can directly monitor your recording. However, USB tends to introduce electrical noise into the recorded audio. You also have limited options to work the sound before it gets to the computer. Think: easier.
XLR requires connecting the mic through a preamp or mixer using a special XLR connector. This takes more work to set up and the additional hardware of a mixer, but the resulting audio quality can be better, as long as the mixer is of decent quality and adjusted properly. Professionals use XLR almost exclusively. Think: higher quality if you put in the time to get it right.
Audio-Technica AT2005 ($79) - This is the default mic included in our computer-connected examples. The AT2005 is a decent, basic, low-cost mic. It's a little bright, which means that it overpowers the high frequencies. This can help sharpen a deep voice, but can sound a little grating for a higher pitched voice. For the price, it does the job very well. It includes both mini-USB and XLR connections.
Audio-Technica ATR2100x ($100) - This mic is similar to the AT2005. If that's out of stock or if you're willing to spend a little bit more for an upgrade, the ATR2100x is a step up in the Audio Technica line. Main differences: 24-bit audio in place of 16-bit and a superior USB-C connector instead of mini-USB. The greater bit depth gives you more headroom to make corrective adjustments in post-processing without befouling the audio.
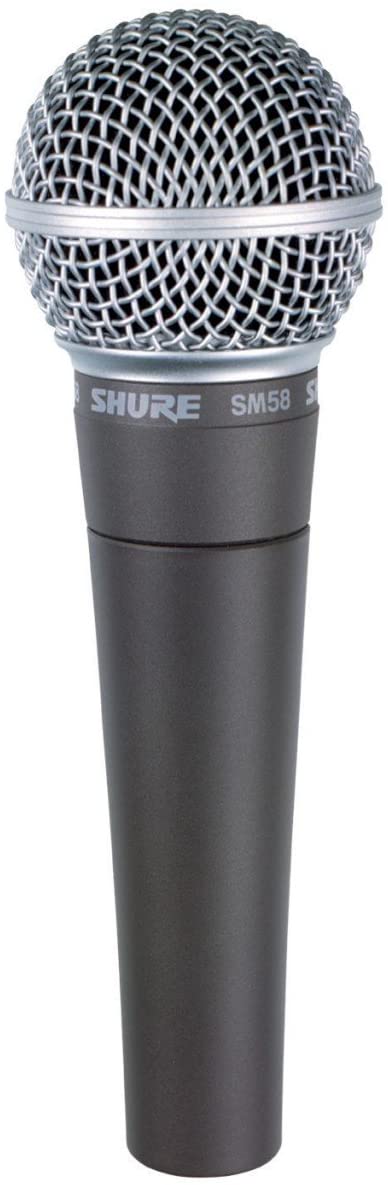
Shure SM58 ($100) - This is the same mic we included for recording with the Zoom devices away from a computer. It's XLR-only with no USB connection, so often not a good match for users at this price point. However, if you're using a mixer or the Zoom, this is probably the most accomplished low-priced dynamic mic on the planet.
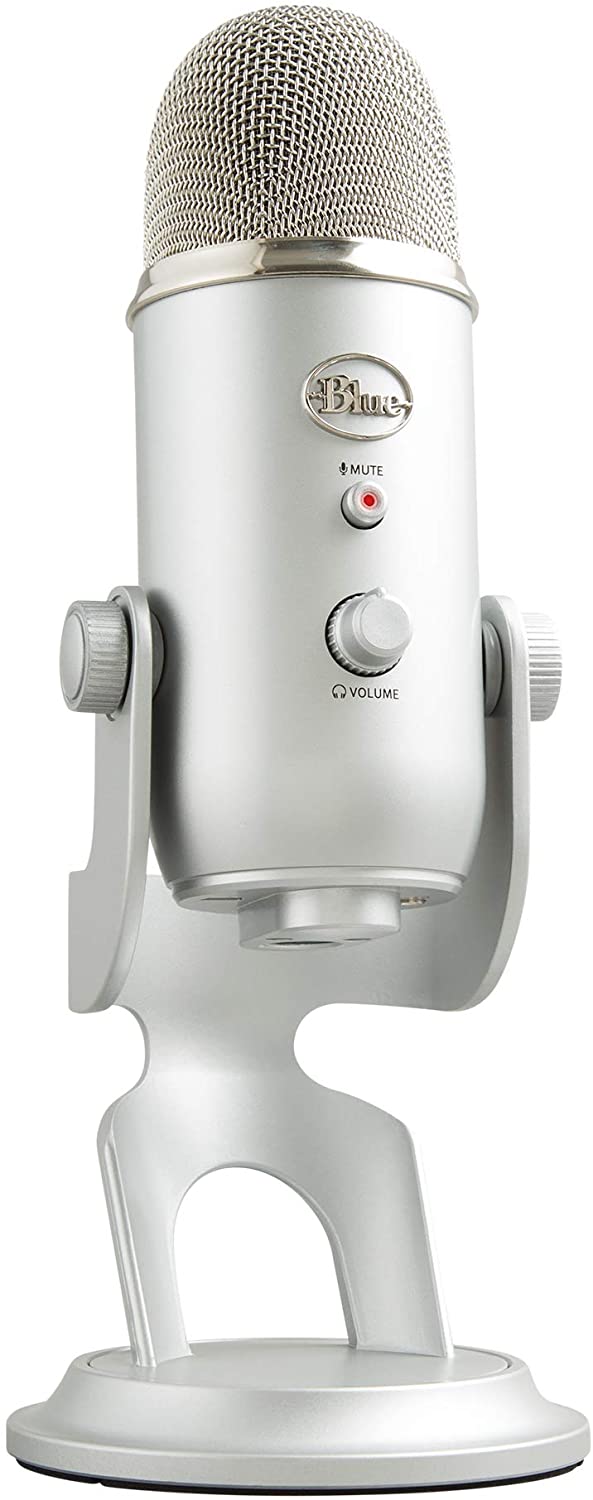
Blue Yeti ($130) - Earlier in this guide we said to avoid condenser mics and stick to dynamic. When you crack $100, however, you start getting into some acceptable options that include critical features missing from the cheaper condensers. The Blue Yeti is a USB condenser mic, but it includes three internal mics and processing to provide noise cancelling and achieve the directional benefits of a cardioid dynamic, without fully sacrificing the richness of a condenser mic. With the turn of a dial, this mic also can be set to record forward and backward for a cross-table interview, left-right for stereo, or just pull in all sound from every direction with the sensitivity of a condenser mic. It comes in silver, blue, and black, all of them aesthetically beautiful. The sound quality is excellent (arguably on par with the Rode Podcaster, but not as good as the Shure MV7 or SM7B). This microphone is very big, very heavy, and will not work with the traditional boom arms in this list. On the other hand, it does include its own nice integrated desk stand. Because it's USB, you can't run it through a mixer, but if you just want a visually attractive, decent quality, highly versatile USB mic at a reasonable price, this can be a good way to go. No XLR.
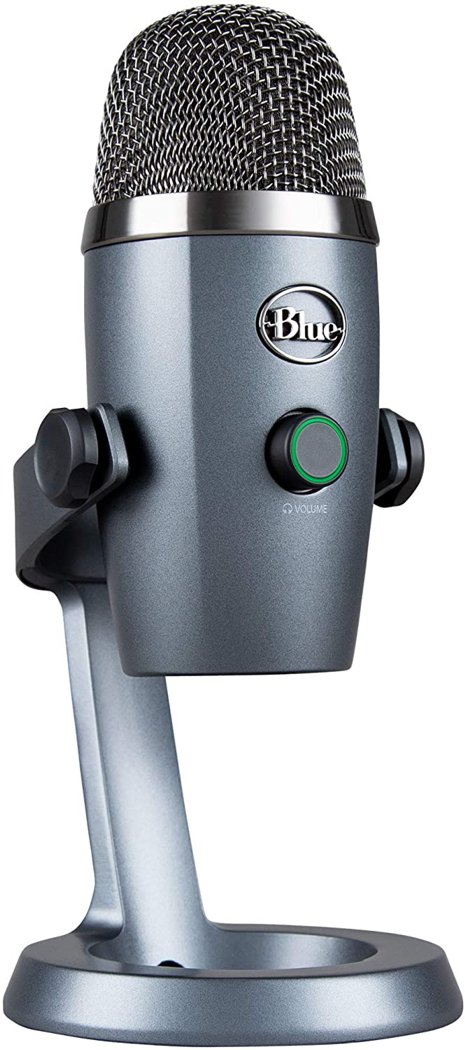
Blue Yeti Nano ($100) - The little brother of the Blue Yeti. It has one less internal mic for noise cancelling, but still does a passable job of blocking background noise at a lower price. With fewer internal mics, it doesn't have all the options of its big brother, but if you're not interested in those, this cheaper, smaller, and lighter sibling may be a better buy for you. More color choices too. USB-only, no XLR connection.
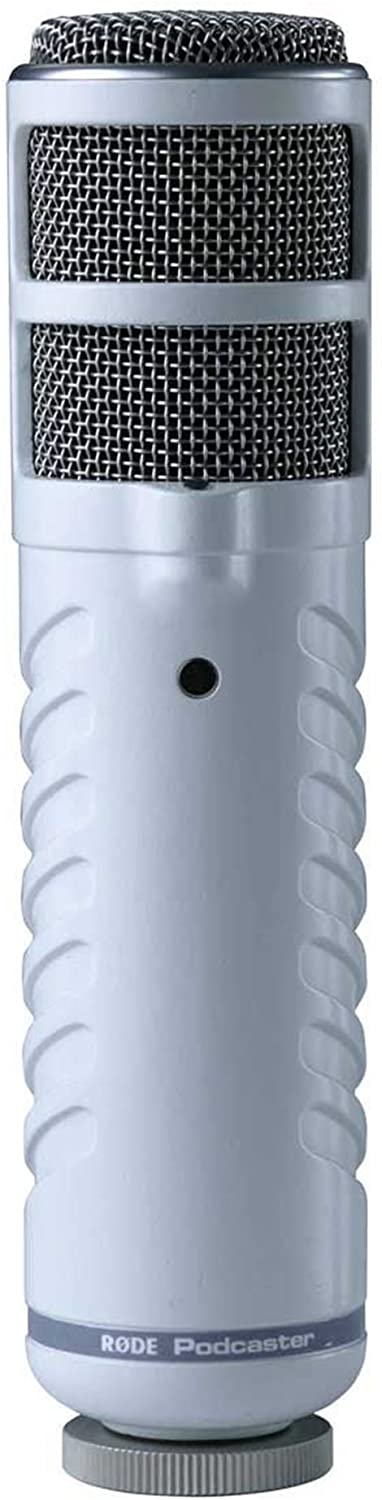
Rode Podcaster ($220) - This was the original chief podcasting microphone and a reliable choice for anyone doing narration or other voice work. It's a solid cardioid dynamic mic and better supports various voice pitches and timbres than the less expensive Audio Technicas we've recommended (they run a little bright, meaning a little too strong on the higher pitches). Especially if your voice is higher pitched, this mic may sound noticeably better for you. On the other hand, it's USB-only with aging specs on the digital components that push the sound through the USB port. If your voice is lower pitched, then we can't recommend this at $100 more expensive than the ATR2100x, especially with no XLR connection. In the other direction, for just a $20 - $30 dollars more, you could get the superior Shure MV7, leaving the Rode Podcaster with a bit of a niche audience, but it remains a legendary mic for spoken word recording, so we felt it should be on this list.
Shure MV7 ($250) - Possibly the finest USB voice microphone available. Having said that, at this price point, we would suggest you may do better with a less expensive mic connected via XLR to a mixer. Especially if you have a deep voice, then the ATR2100x with a good mixer may work as well or even better and even with the added cost of a mixer, still come in at a lower total price than the MV7. But if you have to go USB or can't be bothered with learning how to tune a mixer to get the best possible sound, then the MV7 is a solid choice. For most voices and rooms, you'll get better sound from this than the Rode Podcaster, but you're paying a bit more too. Compared with the similarly priced Rode Podcaster, you do gain an XLR port, making this a more versatile choice.
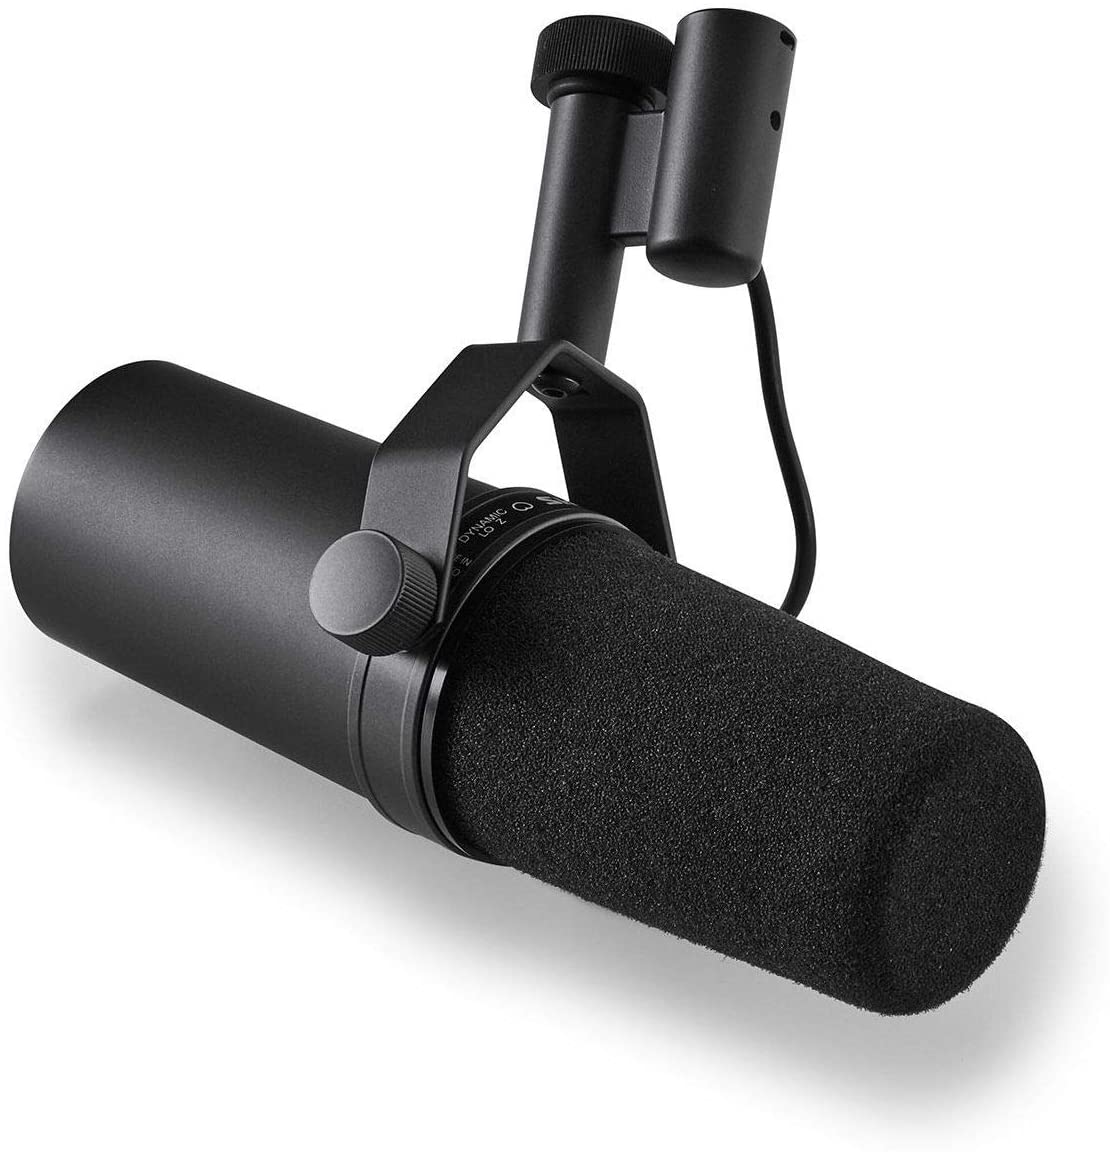
Shure SM7B ($400) - For many reading this, $400 is just too much for a mic. If so, stick with one of the other less expensive options we've provided. Also, this mic is XLR-only. There is no USB port. That's typical at this price range: by the time people have gotten serious enough about their audio that they're willing to spend $400 on a mic, they are unlikely to tolerate a USB connection. But if you want the definitive voice mic and are willing to pay more for quality, then the cardioid dynamic Shure SM7B is the one to get. Many (most?) of the well-known professional podcasters use this very mic. What's good for podcasters is good for audiobook narration. Note that because it does not include a USB port, you will also need a mixer.
Microphone Arms, Stands, Accessories and Combo Packages
AT2005 Combo includes Mic + Boom Arm + Shock Mount + Pop Filter + Headphones ($140) - get everything for a full starter recording kit together in one place at a discounted rate. The headphones are decent quality, but at 20mm, are smaller drivers than we would normally recommend. Still, even these headphones would be a good advance over just using computer speakers.
ATR2100x Combo includes Mic + Boom Arm + Shock mount + Pop Filter ($130) - Like the AT2005 combo above, but around the superior ATR2100x and missing the headphones. Still, for a lower price, if you don't need the headphones and do want the other pieces, this is a great way to get a better mic for less money.
Microphone Arm + Shock Mount ($30) - If you have a place where you can mount the arm to a wall, windowsill, or to your desk, with the included thumbscrew mount, this can make using a microphone a lot easier. You can swing it out of the way when you're not using it and position it right in front of your mouth when you are. This arm includes a shock mount to isolate the mic from any desk or room vibration, helping keep background noises to a minimum.
Microphone Stand ($20) - This is the same stand we included as part of the recording gear for the Zoom H4N with an external mic. However, if you're using the ATR2100 but need easier portability, want something better than the included desk stand, or don't have a place to mount an arm, then this is a good solution.
Pop Filter ($10) - If the windscreen isn't enough, try a full pop filter. This is designed to block bursts of air between your mouth and the head of the mic that cause plosives while still letting the sound compression waves pass right through. Plosives occur when you speak words with a P or B in them too close to the microphone. Some voices naturally generate louder plosives than others. With voice training and practice, you can reduce them to an extent, but as an author recording an audiobook and not a professional stage speaker or performer, just get a pop filter. This one mounts to the arm or stand and includes a flexible neck so you can bend it in front of the mic. It's bulkier and a little tougher to use than a simple windscreen, but is more effective at stopping plosives in your audio.
Improved Pop Filter ($20) - Like the other pop filter, this blocks plosives. However, this one includes a stainless steel mesh to protect the nylon mesh inside. It's tougher and looks better. Do you need those for an extra $10? No, you don't NEED them, but maybe you want them, especially if you're going for one of the higher end mics…
XLR Cable ($10 for 5') - Cable to connect your XLR mic to your mixer. This cable is available in lengths from 2' to 20'. Just choose the length you want and be sure you get a "balanced" cable. Balanced cables do some clever inverted sine wave noise cancellation at an analog level (i.e., before the audio can be converted to digital where it's stable). For short runs with no electrical interference nearby, this isn't all that important, but the longer the cable and the more wires or electronic devices running near your XLR cable, the more critical it becomes. In principal, all XLR cables should be balanced (if all 3 pins are connected and isolated from each other end to end, they are), but some cheaper cables appear to have 3 pins, but ground one of the pins to another, leaving out 1 of the 3 wires to cut costs (copper is expensive), and destroying the balancing capability. This can be tough to detect, because the mic will work either way - it only needs 2 wires to conduct the audio, the third is for the noise cancellation. Rather than worry if you need it or have it, just stick with balanced cables knowing you're safe.
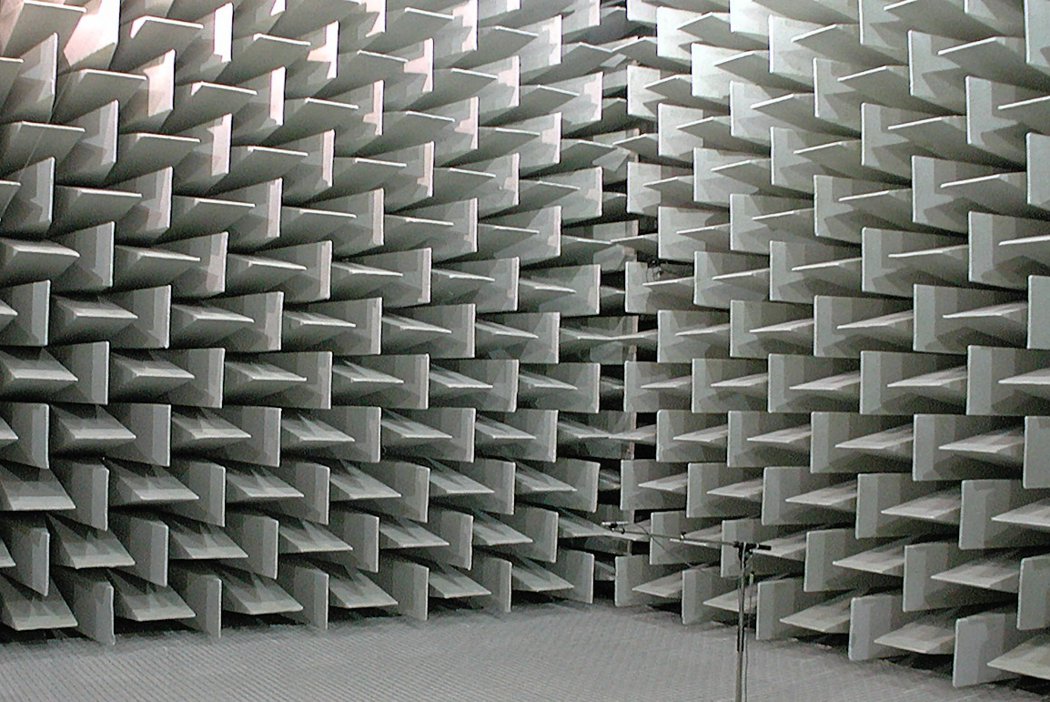
Echo Elimination and Room Treatments
If you have a reasonably quiet computer room, but the walls, furniture, and windows create a noticeable echo effect (if your computer room isn't a sound studio, they do), you may want to consider a portable recording booth or other form of acoustic isolation. These won't work as well as the Zoom recorder in a closet full of clothes, mainly because they can't dampen echo from behind you, but they'll help and may enable you to achieve a decent recording quality at your desk. Also note that using a cardioid dynamic mic over a condenser helps reduce the need for this. If you're unfortunate to be recording with a condenser mic, then these become essential.
Portable recording booth ($30 - $200) - These wrap around your mic and absorb your voice so it doesn't proceed to bounce of the walls behind the mic. A common misconception is that these help by absorbing background noises. While they do a little bit of that, it's not enough to make a noisy room quiet. If that's your problem, you'll have to turn off the fan, unplug the refrigerator, or leave your dog with a friend during your recording sessions (or use the Zoom device and record in your closet). No, the main purpose of a portable recording booth is to catch your voice before it can hit the desk, walls, and floor behind the mic and create an echo. Echoes give your audio an ugly, hollow quality. To get the most out of a portable recording booth, imagine a cone of sound coming out of your mouth, expanding the further it gets from you. Position the portable booth on the opposite side of the mic from where you're speaking so most of that cone hits the foam of the booth. You want it to catch all those naughty sounds that try to get past the mic.
You can also make one yourself with some foam packing material and something like a milk crate or storage box. Here are a couple of good videos on the subject. You can find many other videos about doing this on the Internet. Just search for "diy portable sound booth" or "diy acoustic isolation."
Acoustic foam ($1.67/sf or $10 for 6 pack of 12"x12" panels) - This is the foam you can use to build your own acoustic isolation box or room.
Folding stand ($43) - If you are trying to use with a mic on an arm, you may have no choice but to go with something like a folding stand and setting some acoustic foam above and below while recording, but that will not dampen the echoes nearly as well as the box solutions.
Mixers
All of these mixers take XLR mic inputs and connect to your Windows or Mac computer via USB. All except for the Xenyx 302USB can also accept ¼" TRS mic connections.
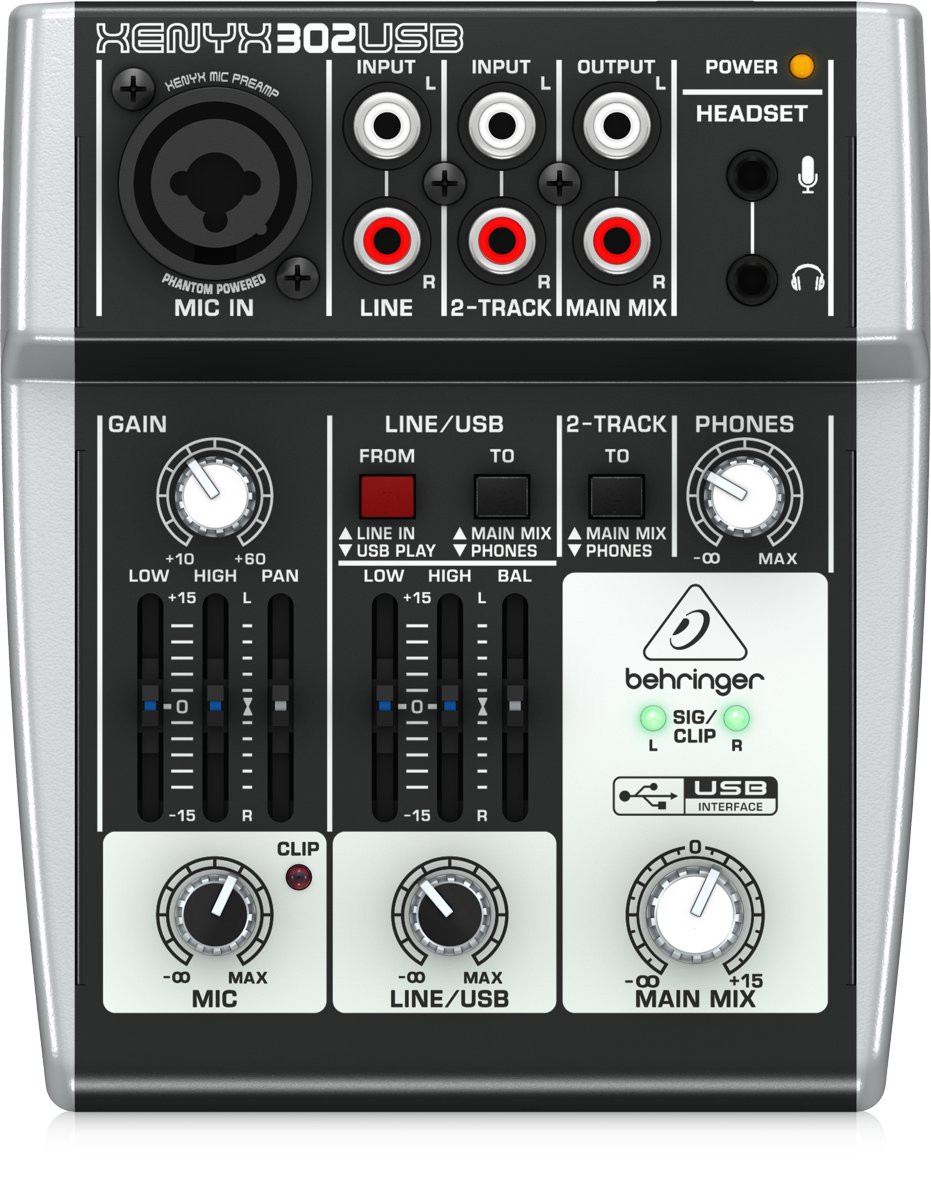
Behringer XENYX 302USB ($60) - A basic mixer with every feature you need for audiobook narration. Not quite as quiet or clean as the higher end models listed below and only provides 16-bit output. However, neither of those limitations are likely to be noticeable for recording in a home.
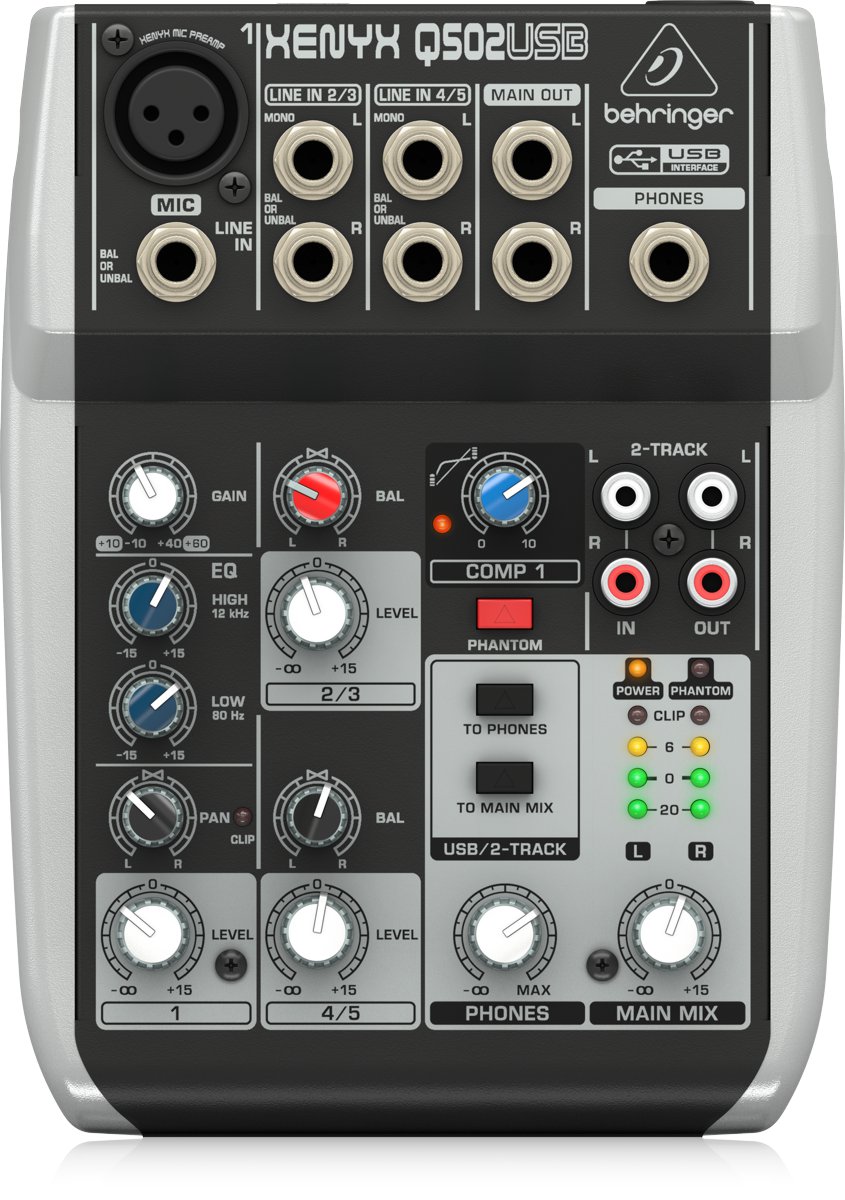
Behringer XENYX Q502USB ($80) - Nearly the same as the XENYX 302USB, but includes an analog compressor. A compressor is rare find at this price point, and this is the only mixer on this list with one included. It also adds upgraded connectors for additional inputs, an additional output for mixing, and full phantom power for condenser mics, but if you're just using 1 dynamic mic, those won't matter for you.
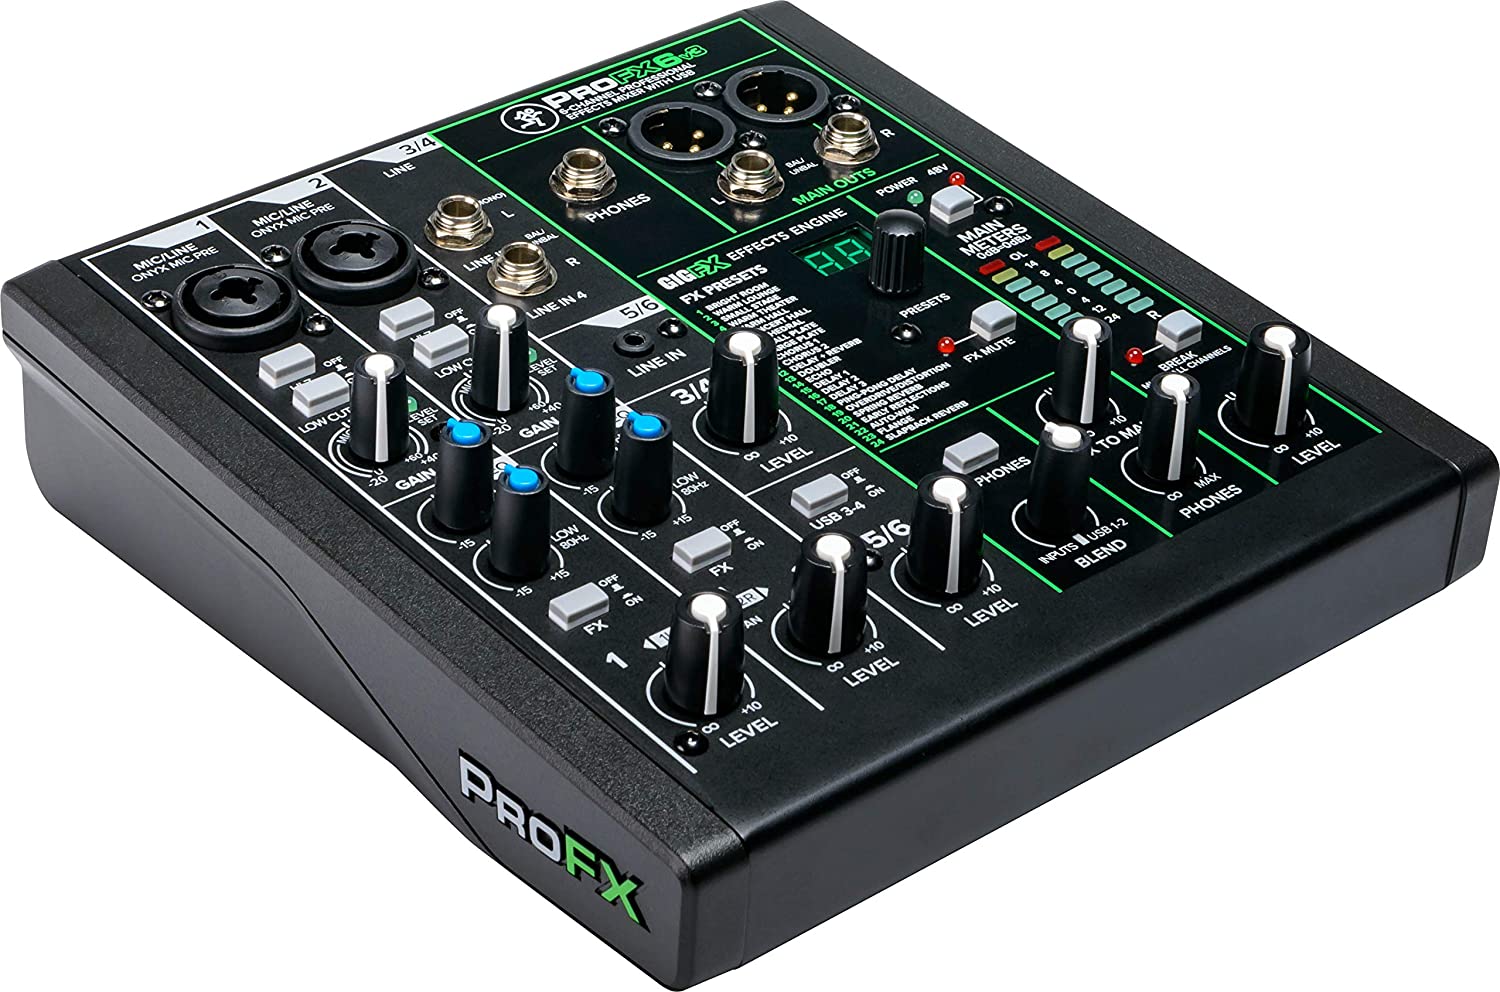
Mackie ProFXv3 ($150) - Quite a bit more expensive than our recommended Xenyx options, the Mackie upgrades from 16-bit to 24-bit audio and has a lower internal noise profile. This v3 model adds Onyx mic preamps, which Mackie had previously only made available on their higher end systems. All of these features provide added headroom compared with the Xenyx models to make post-processing changes without introducing artifacts to your sound. If you're not familiar with what overprocessed audio sounds like, it's somewhat like recorded noise, but has its own awful sound. The added headroom gives you more freedom to work before these appear. Of course, if you do have a nice quiet recording room and the rest of your equipment is good, then the reduced internal noise of the Mackie will yield cleaner audio.
This mixer also provides several special effects. For normal recording, you'd never use these. They are more relevant for musical compositions, but if you want help achieving an interesting echo-voice for a disembodied character in your story, the Mackie ProFXv3 has you covered.
The Mackie also adds a bunch of extra ports you probably don't need for audiobook recording. Unfortunately, that means that part of the higher price is for components that won't add any value for you.
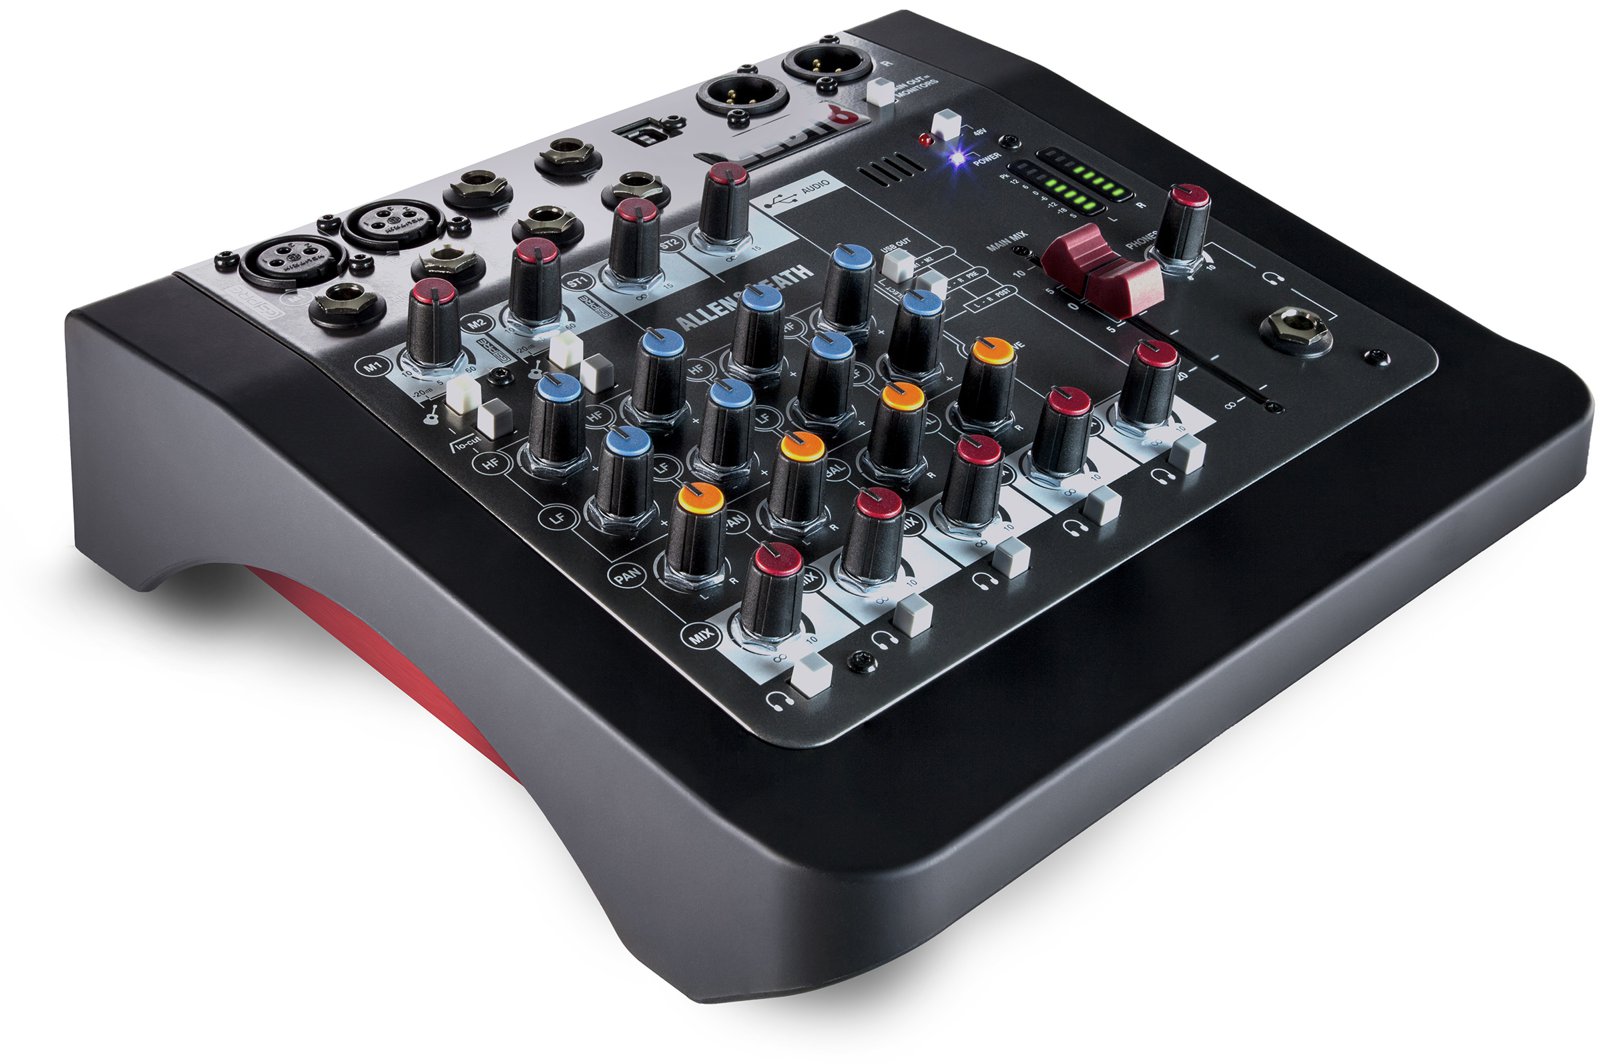
Allen & Heath ZEDi-8 ($190) - This 24-bit mixer has the lowest internal noise profile of all the mixers on the list. You're paying a premium, but with the Allen & Heath ZEDi-8, you're really reaching the pinnacle of what makes sense to consider for narration. Some may prefer the Mackie, and if you think you might use its special effects, save the money and go with that one. However, if you just want simple, clean audio and are willing to pay the price, you'll be happiest with the ZEDi-8.
Headphones
If you already have good headphones, go ahead and use those. If you're going to invest in a pair to support your recording, get a good neutral set like these. Neutral means that there is minimal change added to the audio. Headphones that are very good for music or gaming often enhance the bass and remove some noise, which is great for listening, but not so good for hearing the very audio imperfections you are trying to catch. For that, you want them to be as neutral as possible.
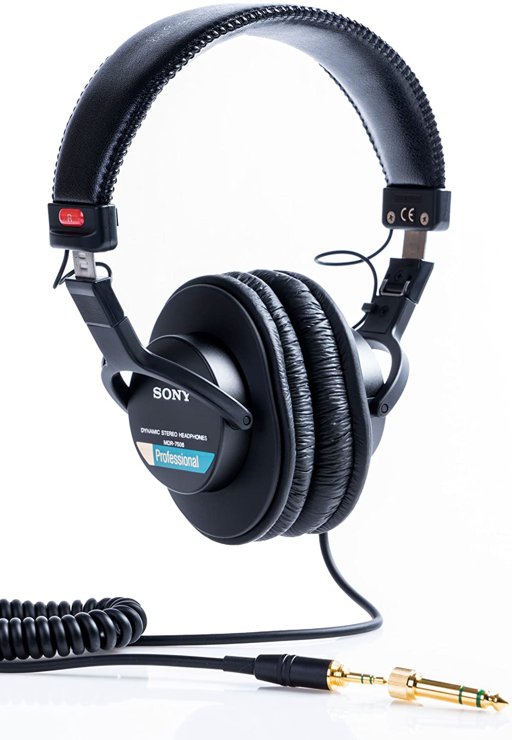
Sony MDR-7506 ($85) - The Sony MDR-7506 is the classic headphones used by the pros. They use 40mm speakers. This pair also includes an adapter to work with both 3.5mm and ¼" connectors, meaning they'll work with all of the mics and mixers described here.
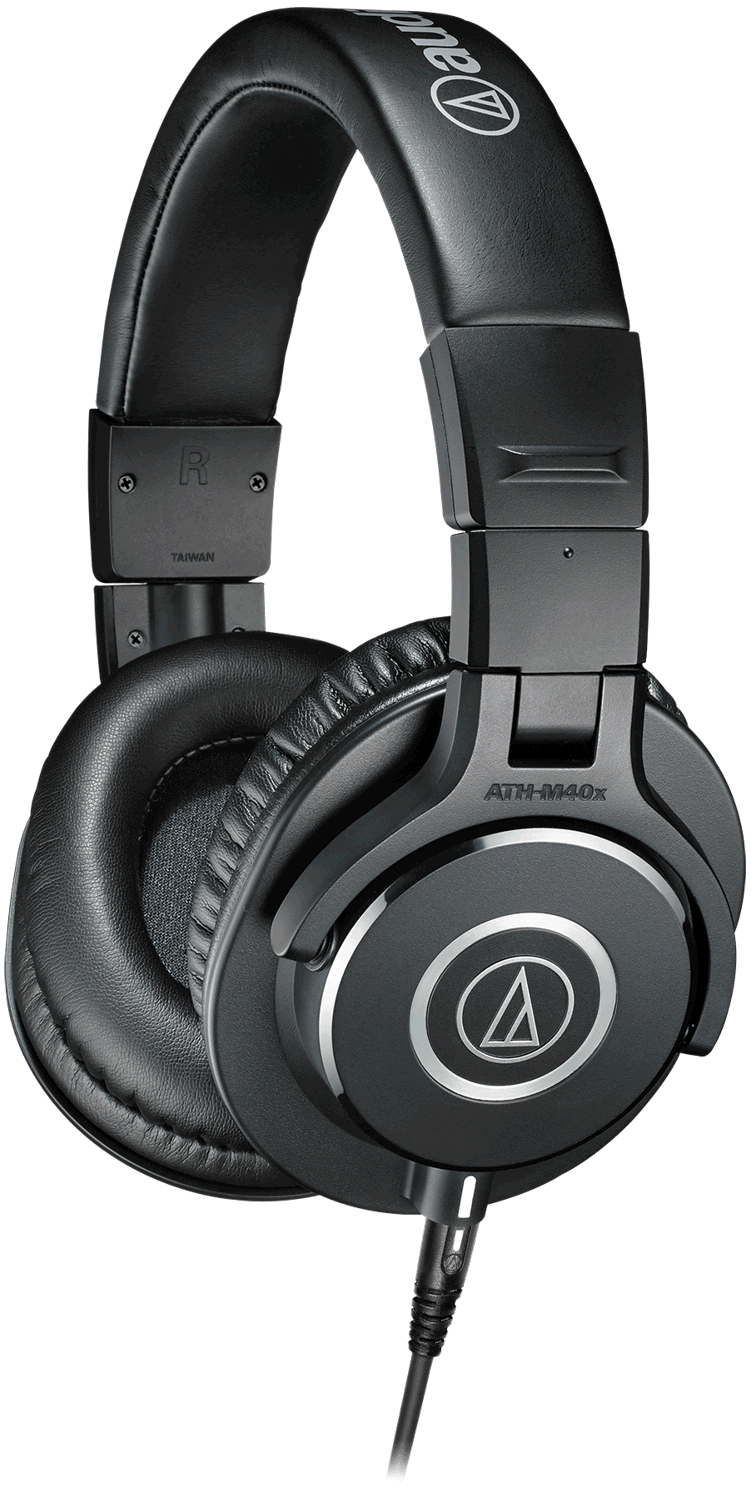
Audio-Technica ATH-M40x ($100) - Another good pair of neutral headphones based around 40mm speaker drivers, like the Sony MDR7506, and also including 3.5mm and ¼" connectors. These are not any better from an audio perspective, so if the Sony headphones are available, we recommend you save a few dollars and go with those. If they're out of stock, then this is a fine substitute.
Zoom Devices and Accessories
The Zoom devices are the solution to use when you can't record directly at your computer. They include decent built-in mics and have ports to plug in any of the good XLR mics we recommend. You record to an SD card, then copy the files to your computer directly from the SD card or via USB cable to the Zoom. Using a Zoom, you can go into a closet or find other quiet echo-free room that's good for recording.
Zoom H1n ($120) - The entry-level Zoom model. For the price, this can be a great way to get into narrating your work. This is still worlds better than the recording quality of your cell phone's mic, which is not remotely good enough for audiobook narration work (we get asked that a lot - no, you can't record good audio using your cell phone's mic, but you could use your phone if it has a physical headset port by using an XLR adapter and one of the mics we recommend). The H1n is good enough for recording an audiobook, but it's not as clean or as capable as the other two Zooms listed here. To hook up an XLR mic, you'll need to use an XLR to 1/8" adapter. We recommend the XLR adapting cable listed below, rather than a standard XLR cable and then a separate adapter. Each additional adapter can increase noise and due to the large size difference between XLR and 1/8" plug, a separate adapter would be prone to breaking.
For the most part, the instructions we provide for recording with a Zoom also apply to the H1n, but there are some differences. Here are the ones that matter:
To provide direct power to the H1n without using batteries, you can use any micro-USB chargers. A micro-USB phone charger would work.
Note: The 4 buttons below the screen (AUDIO, LOCUT, LIMITER, AUTOLEVEL) perform the function that aligns with each button on the screen. For the following instructions, we will call these the "screen buttons." Use these instructions in place of the corresponding Zoom H4n instructions:
Physical Setup Step 5, Setting Date and Time:
On the right-side, hold the trash button while turning on the power. This gets you into the Settings screen.
Use the up and down screen buttons (LOCUT and LIMITER) to select "Date/Time" and press the right screen button (AUTOLEVEL).
Repeat step b to select "Set Date/Time"
Use the up and down screen buttons (LOCUT and LIMITER) to set the date and time, then press the right screen button (AUTOLEVEL).
Use the left and right screen buttons (AUDIO and AUTOLEVEL) to change which part of the date to change. Then press the up and down screen buttons (LOCUT and LIMITER) to raise or lower that value.
When done setting the date and time to the correct values, press the red and silver Record button below the screen buttons. This will save your changes.
Physical Setup Step 9, Resetting the unit back to defaults:
On the right-side, hold the trash button while turning on the power. This gets you into the Settings screen.
Use the up and down screen buttons (LOCUT and LIMITER) to get select "Factory Reset" and press the right screen button (AUTOLEVEL).
Use the up and down screen buttons (LOCUT and LIMITER) to get select "Execute" and press the right screen button (AUTOLEVEL).
Recording Step 3, When recording, if paused, there will be a Pause icon || in the upper left of the display, rather than the blinking ring around the record button on the H4n.
Recording Step 5, To change the recording volume levels, instead of using the H4n's Record Level buttons on the right side, rotate the Input volume dial centered above the screen on the H1n.
Recording Step 9, Connecting to a computer via USB, where the H4n has a mini-USB plug on the left side, the H1n uses micro-USB on the right side.
Connect the USB cable to your computer and the micro-USB port on the right side of the Zoom. This will open the USB screen on the Zoom H1n.
Use the up and down screen buttons (LOCUT and LIMITER) to select "Card Reader" and press the right screen button (AUTOLEVEL).
Browse the SD card through your computer as you would any USB or other external drive copy or move the files you want to your computer.
When done, safely disconnect from your computer, then select EXIT on the H1n.
Zoom H4n ($160) - We consider this the base model to use. Unlike the H1n, it takes XLR mics directly without needing an adapter and has lower self-noise. In general, avoid adapters if possible, as every contact point can be a source of noise. The built-in mics are also better. The H4n takes a full SD Card, rather than the micro-SD used in the H1n.
Zoom H4n Pro ($220) - Similar to the H4n and using all the same accessories listed here but with better mics and an updated display. Generally, if you can find the less expensive Zoom H4n, we recommend that, but it may have been discontinued. If the H4n is not available, this is the closest alternative.
Zoom H4n AC Adapter ($20) - If you don't like changing batteries and you don't mind the extra cord, then this is what you need. Keeps the Zoom H4N running on AC power. Note that you don't need one of these for the H1n, because that just charges via USB. If you have a USB charger for a cell phone, you can use that to provide power to the H1n.
USB Charger for the H1n ($10) - If you don't already have 1, a good high-powered Quick Charge 3.0 charger with a cord will take care of you.
A rule for buying chargers: the charger must match the voltage of the device you're charging and meet or exceed the amps. If it can't provide enough amps for the device, then it will either fail to charge or overheat and burn out. In the case of the Zoom H1n, it uses standard 5v USB. So as long as the charger supports 5v USB charging, then the more amps the charger lists the better. Chargers that support Quick Charge are capable of also providing output at a higher voltages (e.g., 9v or 12v), but standard USB devices that don't use Quick Charge, including the Zoom, default to using the 5v feed. We recommend a Quick Charge charger over others because the added voltage protection circuitry of Quick Charge is a good general feature, doesn't add much to the price, and gives you a great highly compatible charger for use with any other USB devices you may have.
SD Card for any Zoom ($8) - The Zoom devices can support up to 32GB SD cards. They will not work with larger SD cards. This is a good 32GB Micro-SD with an adapter to work in standard SD ports. That means it will work with both the H1n and the H4n.
Rechargeable AAA batteries for H1n ($19) - Eneloop batteries. Low self-discharge, so you can charge and store them. Includes a charger. These can be recharged 2,100 times. If you just want the batteries and don't need the charger, use this link instead.
Rechargeable AA batteries for H4n ($18) - Eneloop batteries. Low self-discharge, so you can charge and store them. Includes a charger. These can be recharged 2,100 times. If you just want the batteries and don't need the charger, use this link instead.